Introduction
Did you ever wish about having your own s3 bucket to play with? In data engineering space, having an access to s3 bucket could be very rewarding. You could not only learn a great deal about s3 buckets (protocols & access management), but also build apps using s3 buckets as data layer. With MinIO and containerization tools like Docker and Kubernetes, now you could build your very own datalake in your very own localhost!
But hey, what is MinIO? Let's find out...
MinIO is a High-Performance Object Storage released under GNU Affero General Public License v3.0. It is API compatible with the Amazon S3 cloud storage service. It is capable of working with unstructured data such as photos, videos, log files, backups, and container images with the maximum supported object size being 50TB. MinIO helps you organize and store all of that in a way that's not just tidy but also incredibly scalable.
In this blog, we are going to discuss about how to spin up your own MinIO instance in Docker, create your first bucket right within your localhost and (in later chapters) interact with MinIO buckets programmatically using Python and PySpark!
Prerequisites
Before getting into the hands on, we need to ensure that you have docker installed in your machine. Installing docker is generally pretty straightforward. If not installed already, please refer to docker official guide to install docker on your machine.
To confirm the docker installation in your machine, try running these commands in your terminal:
docker --version
# Docker version 24.0.6, build ed223bc
docker-compose --version
# Docker Compose version v2.21.0-desktop.1
Once you have docker installed, you are all set to go!
Creating first S3 bucket
Let's create a project directory and switch into it for all our hands on exercises. You could try something like this in your terminal.
Create project folders and switch to it
 # Switch to home directory
 cd ~
 # Create and switch to project directory
 mkdir -p hello_minio && cd hello_minio
 # Create a data folder for MinIO
 mkdir data
Create
docker-compose.ymlfile for MinIO service with contents:iversion: '3' services: minio: image: minio/minio container_name: minio-server ports: - "9000:9000" - "9090:9090" environment: MINIO_ACCESS_KEY: minioaccesskey MINIO_SECRET_KEY: miniosecretkey volumes: - ./data:/data command: server /data --console-address ":9090"Note:
In
volumespecification,./datadirectory of localhost is going to be mapped to the/datadirectory of the MinIO instance. Therefore, either rundocker-composecommand from project root or provide absolute path instead of./data.minioaccesskeyandminiosecretkeyshould be replaces with the access-key and secret-key you want to set for your MinIO service instance.Link to official docker repository - minio/minio
Run the following command to start MinIO using Docker Compose
docker-compose up -dRunning the above command for the first time might take some time to complete because docker would pull the minio image from docker hub. Once the command completes successfully, you would see an output like this:
 [+] Running 2/2
  ✔ Network minio_default    Created                                                                                                              0.0s
  ✔ Container minio-minio-1  Started
You can further check if a container is created or not using
docker pscommand:$ docker ps -a CONTAINER ID IMAGE COMMAND CREATED STATUS PORTS NAMES 74a9ec15d852 minio/minio "/usr/bin/docker-ent…" 3 seconds ago Up 3 seconds 0.0.0.0:9000->9000/tcp, 0.0.0.0:9090->9090/tcp minio-minio-1Accessing the Web-UI
Docker compose command as seen above will start a MinIO service instance, and you can then access the MinIO Browser at
http://localhost:9090using the access and secret keys you set in thedocker-compose.ymlfile.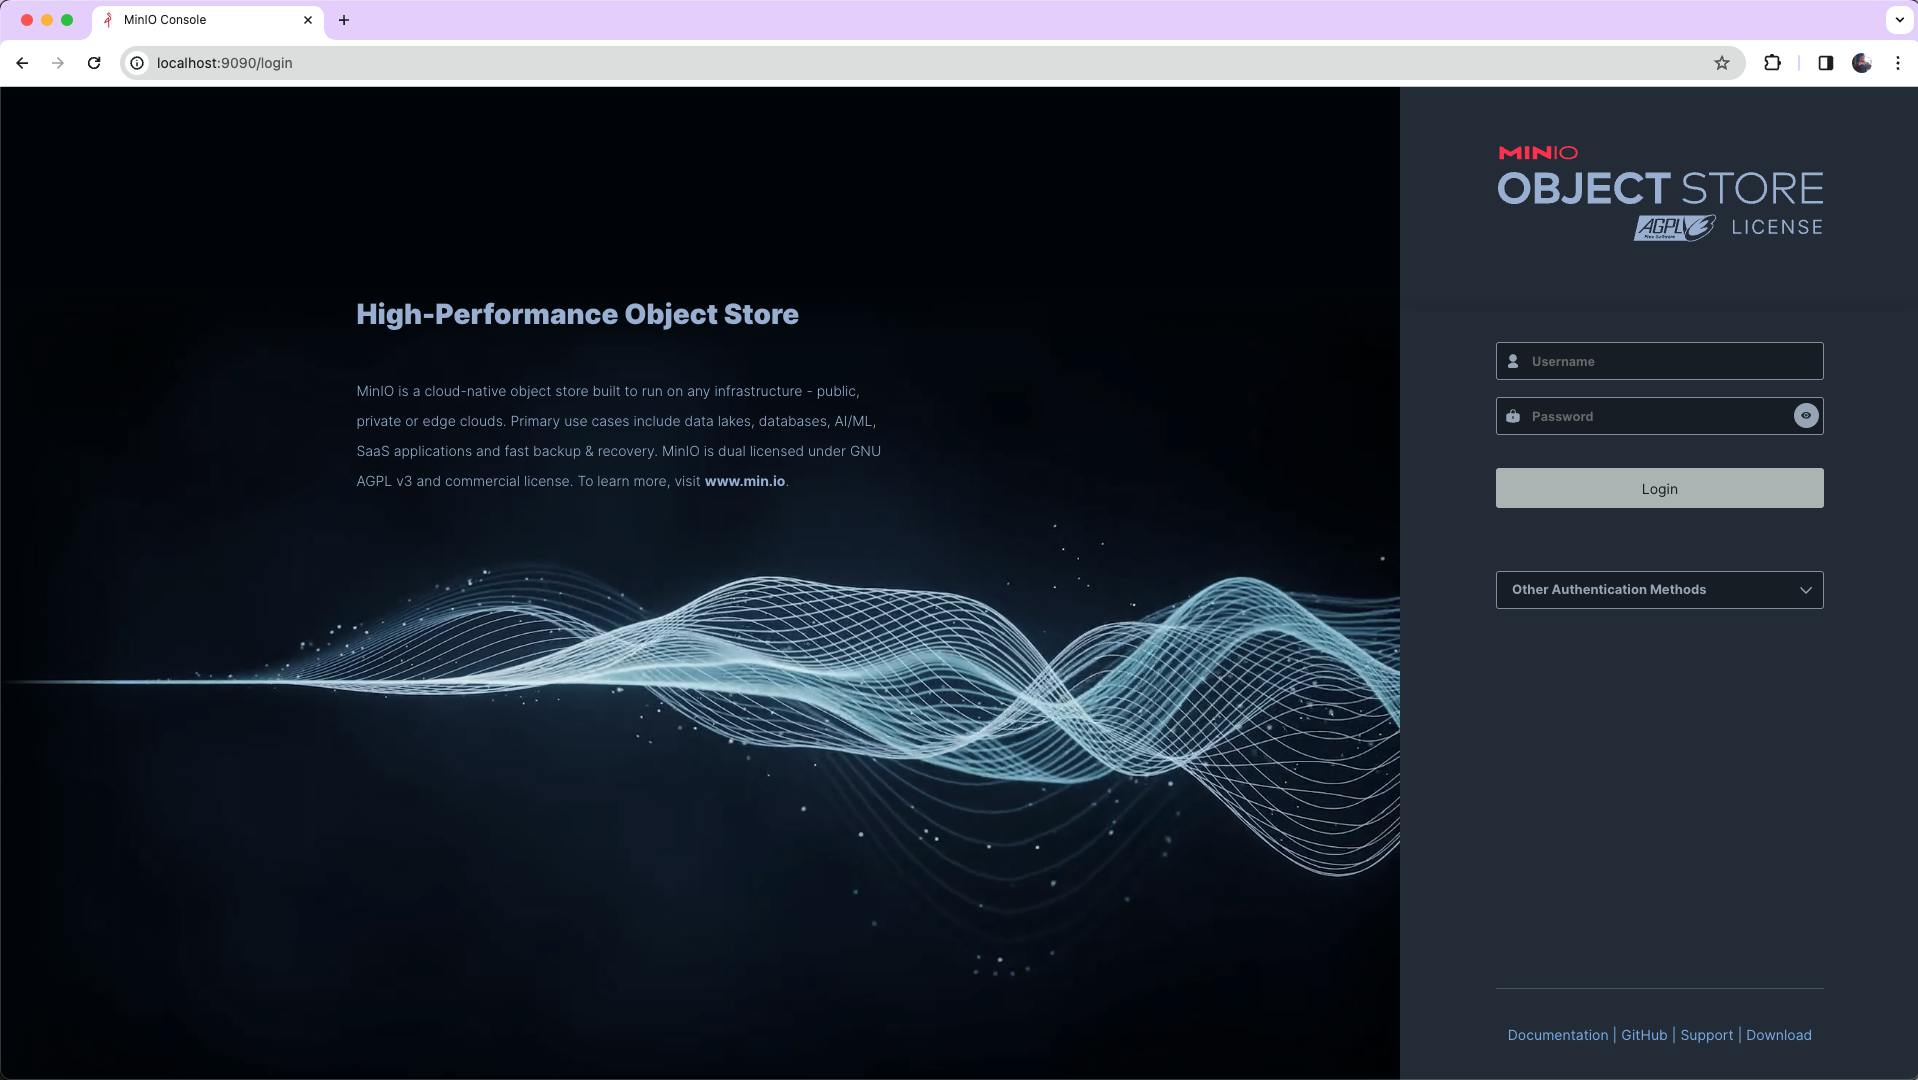
Creating your first bucket
After logging into the MinIO portal, click on
Create a Bucketbuttom in the centre pane to create a new bucket. Alternatively, you can also navigate toBucketstab underAdministratoron the left side pane of the dashboard. These options are marked in boxes in the screen-grab below: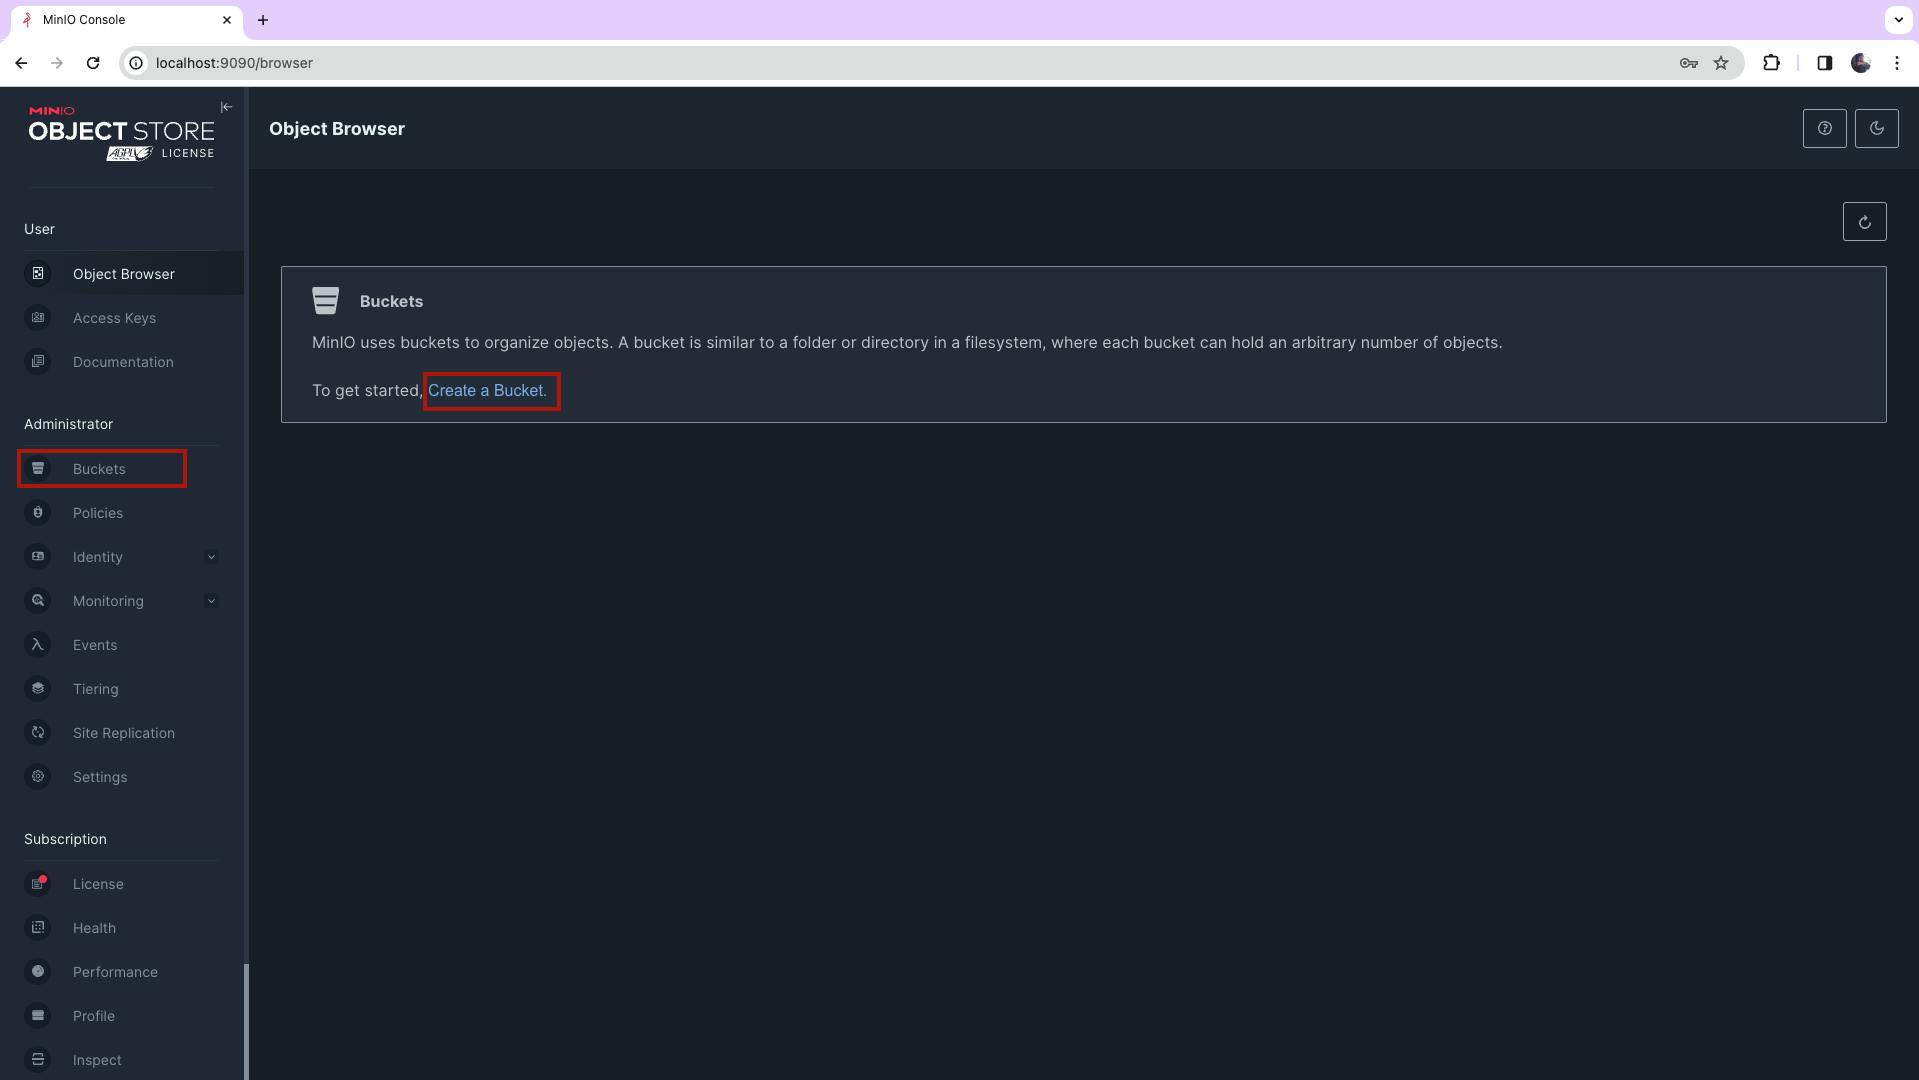
Follow to the next screen to give name to your first bucket and then click
Create Bucketbutton to create your first bucket.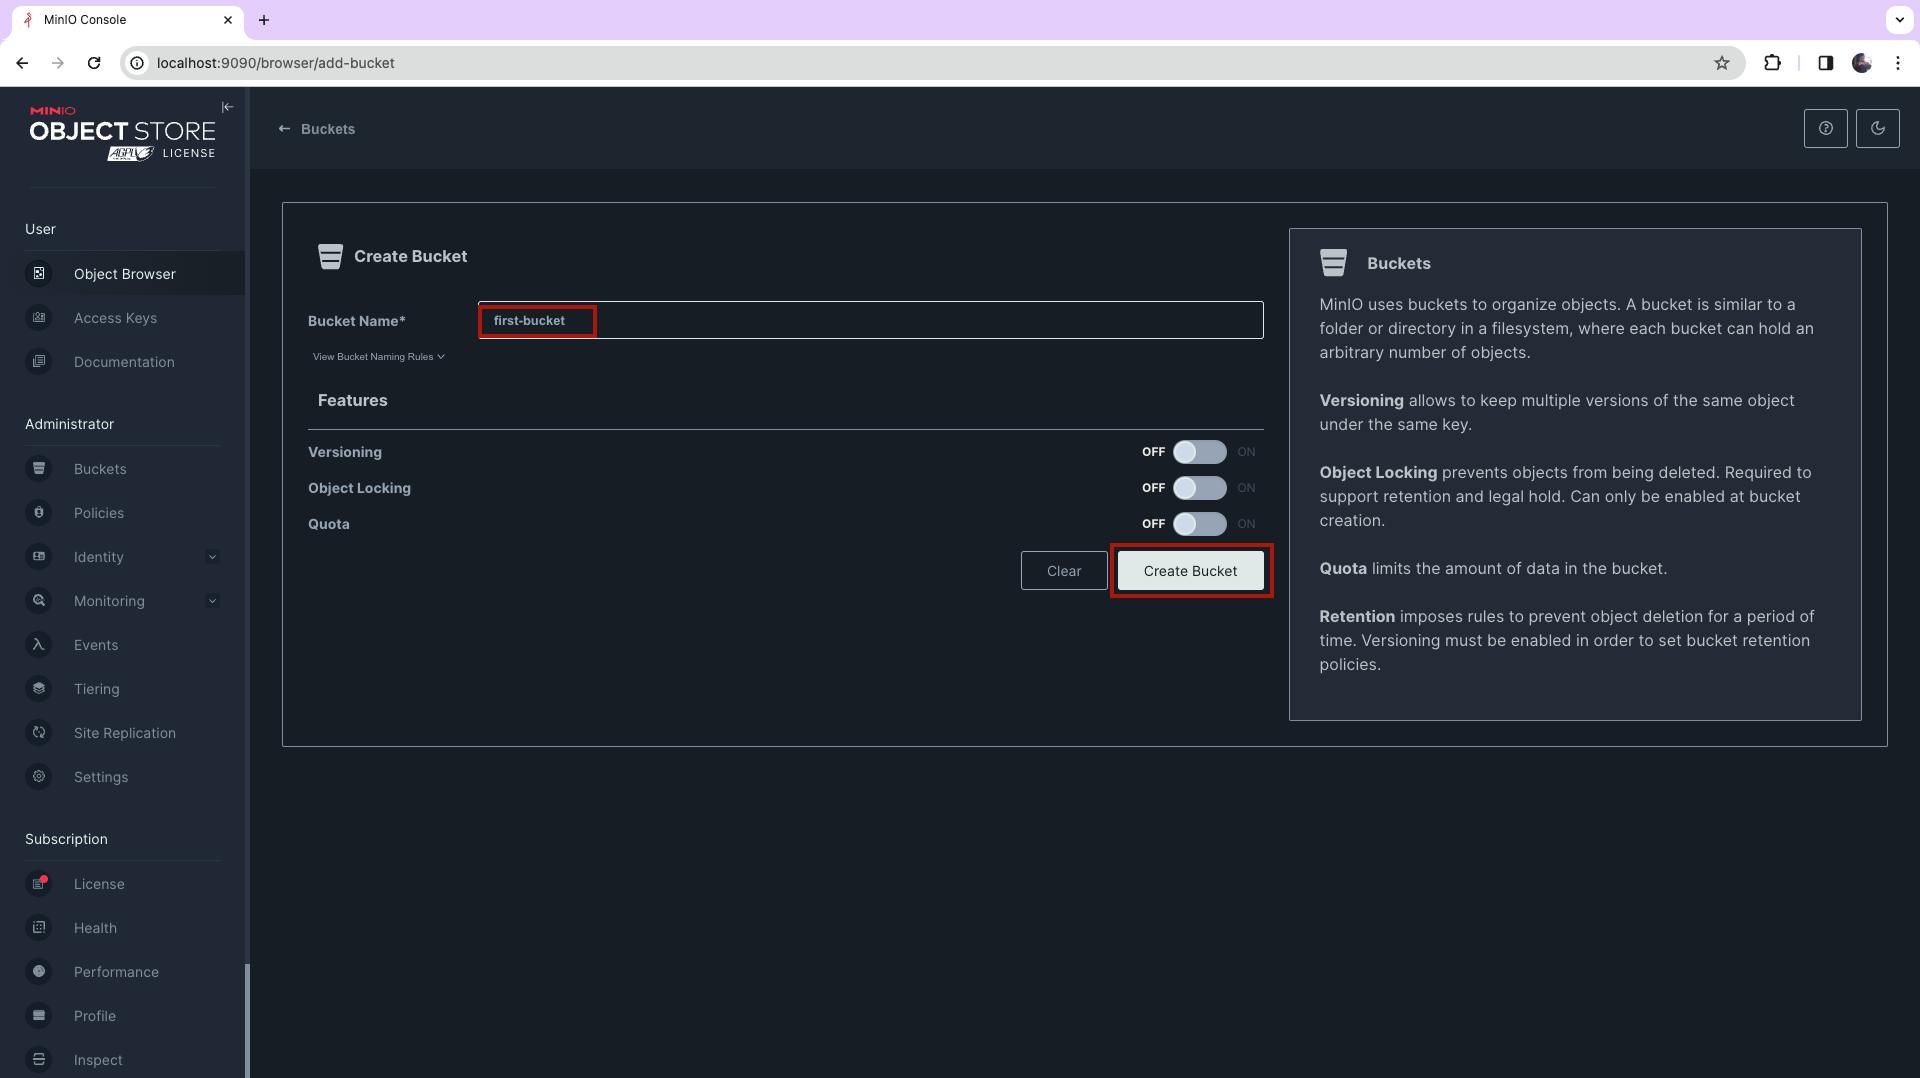
Also note that you have advanced options for
Versioning,Object LockingandQuotaavailable on the same screen, you can select these options as needed.Once you click on
Create Bucketbutton, a new bucket would be created and you will see somehting like this: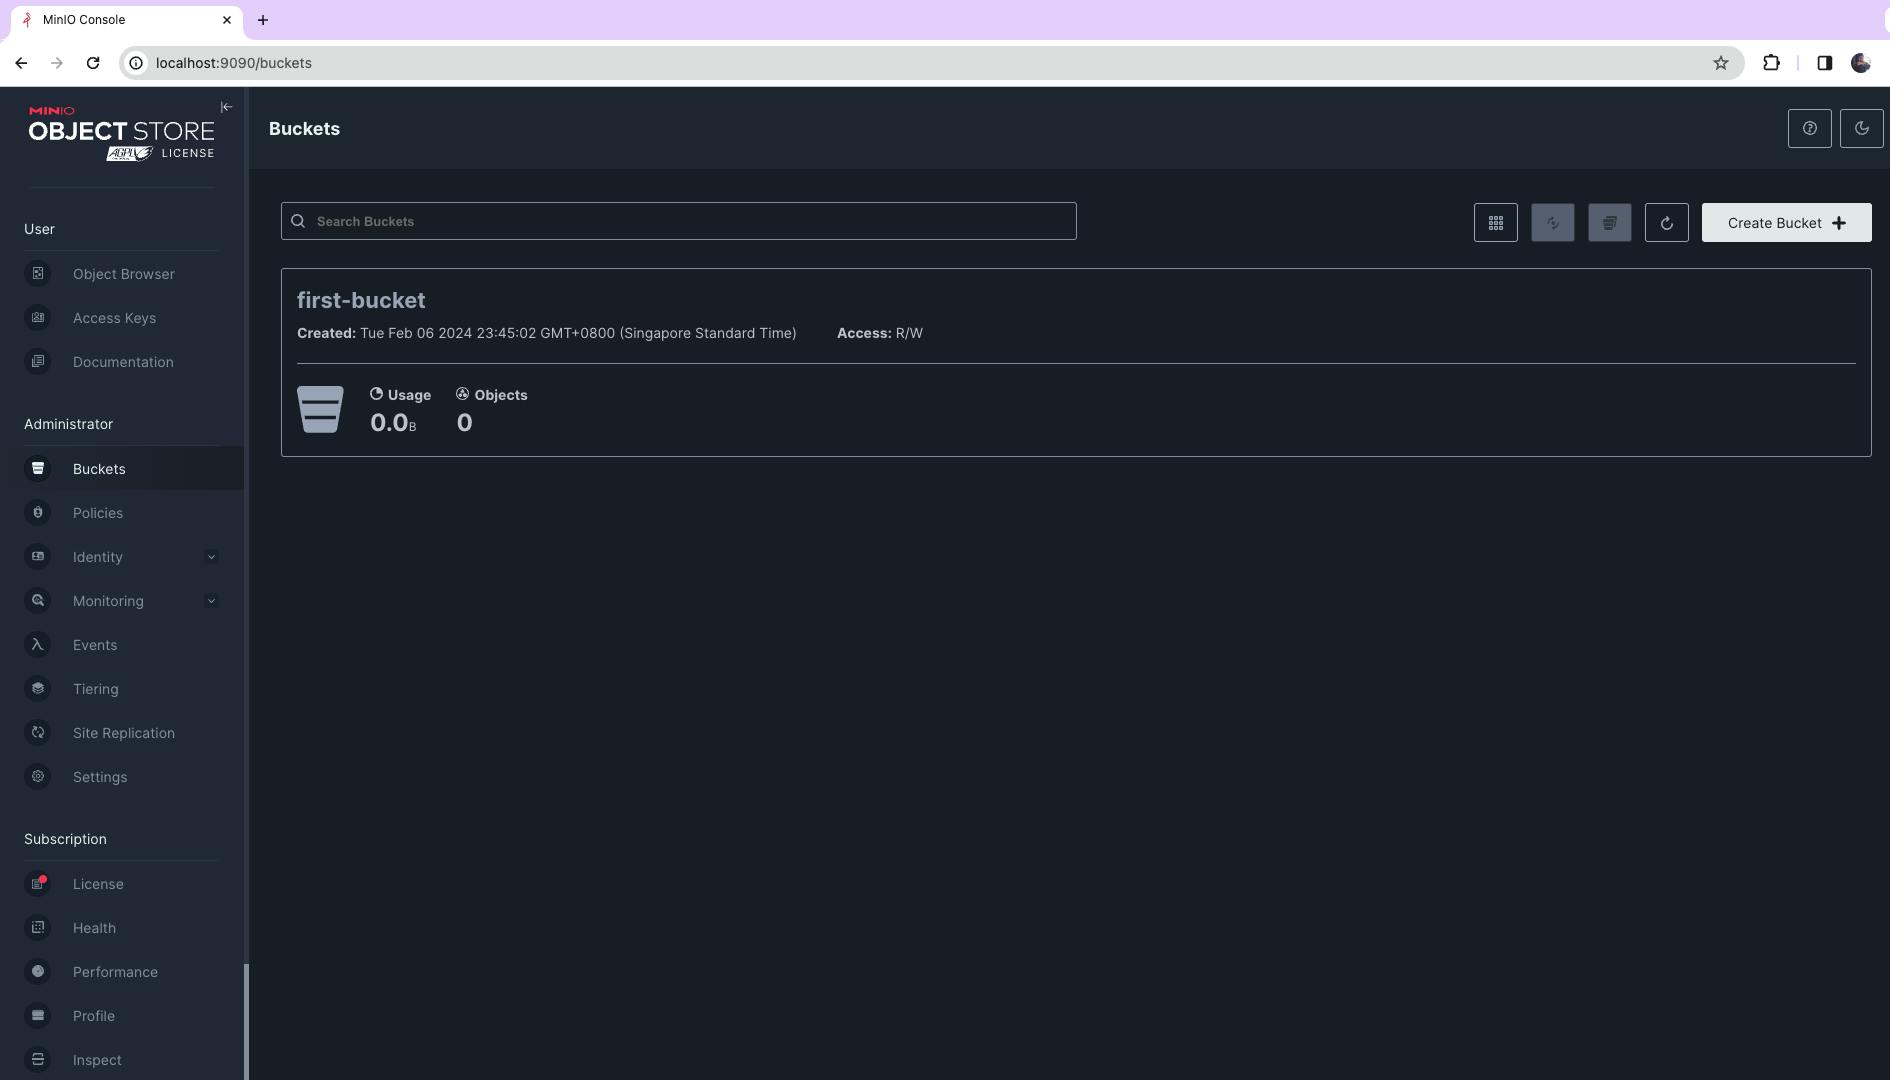
Congratulations! 🎉
You just created your first S3 bucket, right in your localhost!
Feel free to navigate and familiarize yourself with the features and controls offered by MinIO! 🦩Killing the MinIO instance
You can stop/remove the MinIO service instance by using below command:
 $ docker compose down
 [+] Running 2/1
  ✔ Container minio-minio-1  Removed                            0.1s
  ✔ Network minio_default    Removed                            0.0s
In the next sections we would delve into Python and PySpark to interact with the S3 bucket we just created!
